

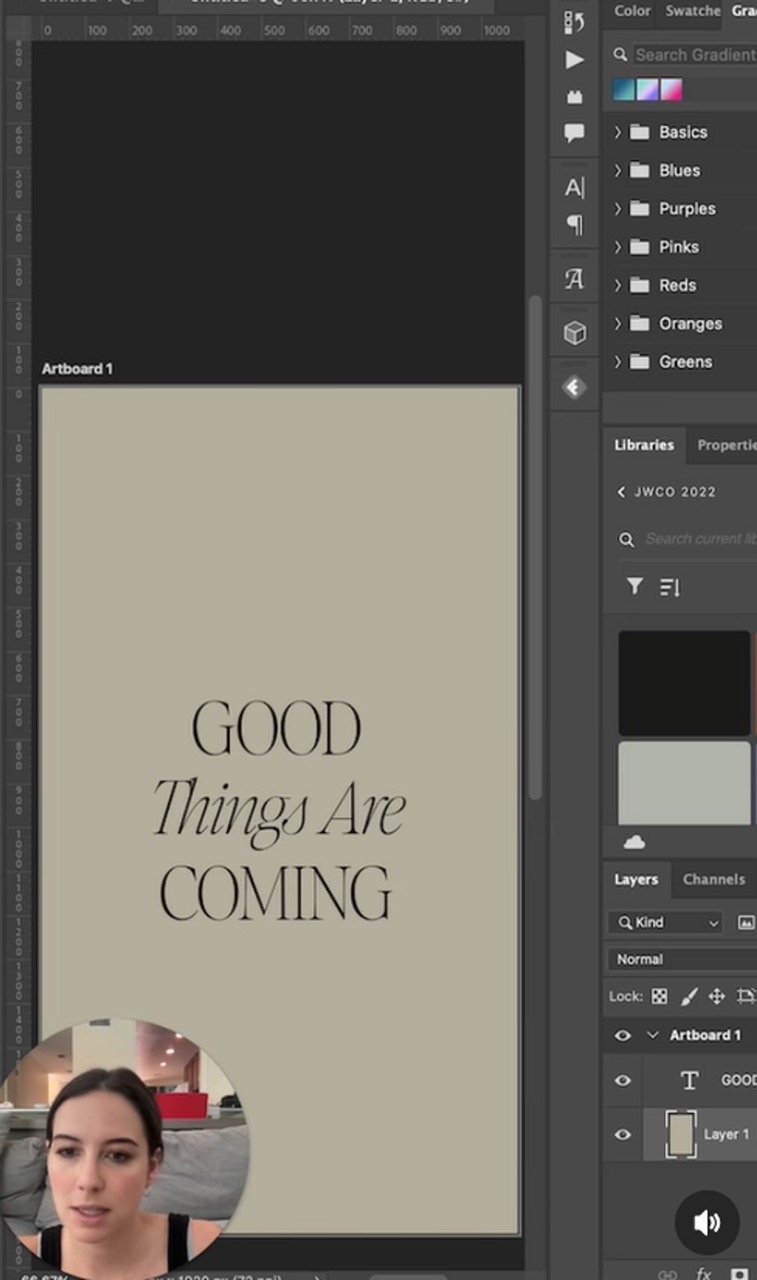

Have you ever used the emboss effect in Photoshop?
The emboss effect is a great tool for creating paper mockups such as business cards or wedding invitations. It creates a realistic indention of your text for your mockup, and not to mention, it looks super classy. The best part – it’s SUPER EASY.
After you have your desired text beautifully designed in Photoshop, you’ll want to follow these 3 quick and easy steps to achieve that embossed effect:
1. Make your background and text the same color
Choose the color that will be your “paper” for this design. Changing your text and your background to this color will create the clean, carved effect we’re looking for.


2. Select your text layer to apply the emboss effect
Double-click your text layer to open up the text layer dialogue box. Select the “bevel & emboss” option on the left-hand side. This will immediately change the look of your text. The only thing left to do is adjust the settings to your liking!


Comments +