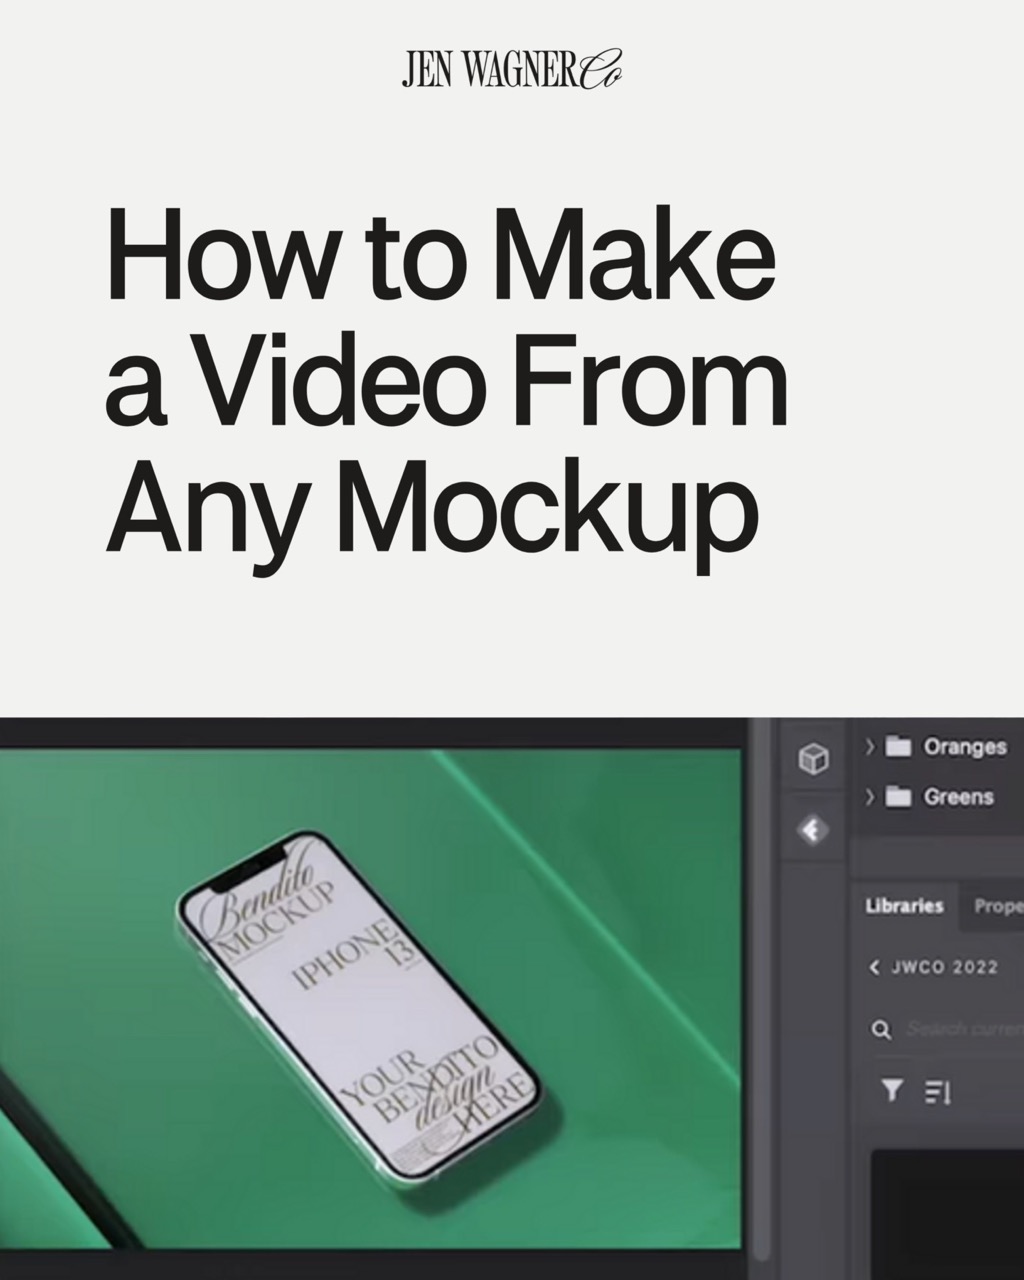
We all know video is king nowadays, but when it comes to creating mockups of your digital work, video seems out of the question… I mean it’s called Photoshop, not videoshop, right? However, adding video into your Photoshop mockups is actually quite simple!
In this post, I will walk you through making a video from any of your mockups, making your mockups more dynamic and IG reel/TikTok friendly!
Step 1: Create a Video Timeline
Once you have your mockup open in Photoshop, head over to the “window” tab, then select “timeline”. Once the timeline pops up at the bottom of your workspace, make sure “video timeline” is selected in the drop down box.


Step 2: Add Video Timeline to Smart Layer
Double-click on the desired smart layer, then repeat the same process of creating a video timeline in step 1.

Step 3: Drag and Drop your Video
With your smart layer still selected, drag and drop your desired video into the workspace. You should see the video load into the video timeline area, as well as the smart layer.

Step 4: Save and Export!
Your mockup is now a video! Remember to hit save, then go to file > export > render video. Use whatever exporting settings you see fit for your mockup, then hit export.


Comments +