Adding texture to your text in Photoshop can really elevate your designs, and it’s actually really fun and quite simple!
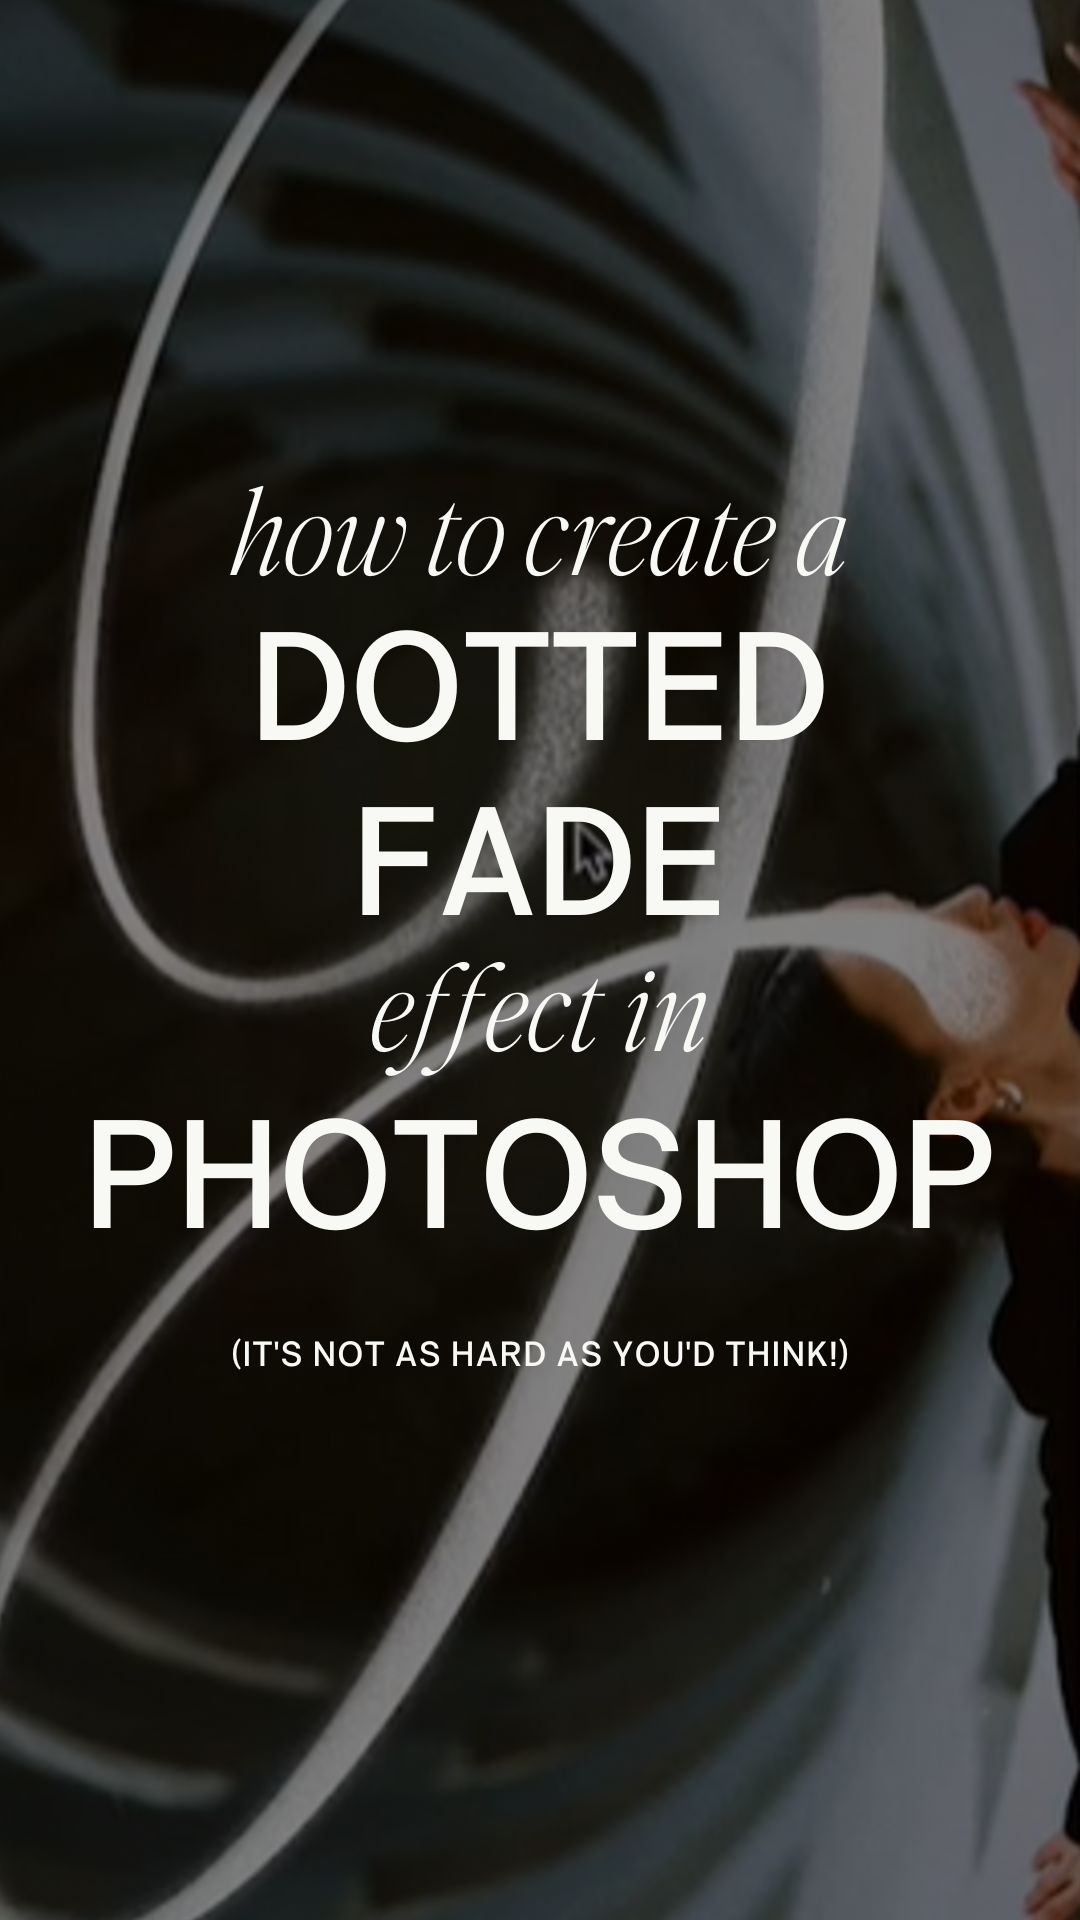
In this blog post, I’m going to show you how I created this dotted fade with a layer mask, and how you can use it in your future designs!

Step 1: Duplicate your text layer
Once you have your desired text in place, make sure it’s rasterized, then duplicate that layer. This duplicate layer is where we will create the dotted fade, and the original layer will be our solid text layer that we will later use as a layer mask.


Step 2: Blur and add Noise to duplicate layer
Make sure your duplicate text layer is selected, then go to filter > blur > Gaussian blur. From here you can adjust the level of blur you want (I used 9.5).
Next, go to filter again, but this time select “noise”. From here you will adjust the noise level pretty high, then select Gaussian in the lower left corner of the adjustment box.


Step 3: Change the blend mode
At this point, your duplicate text will have a black-and-white noise effect, but we want to work with just the white. So with your duplicate text layer still selected, change the blend mode to “screen” to get rid of the black noise. You should be left with a grainy white text.

Step 4: Create your layer mask
Go back to your original, solid text layer, and create a layer mask. Fill the whole layer with black so it disappears, then use your white brush to bring back bits and pieces of that solid text over your grainy text. You can adjust the opacity and softness of the brush to your liking to get a more feathered effect.
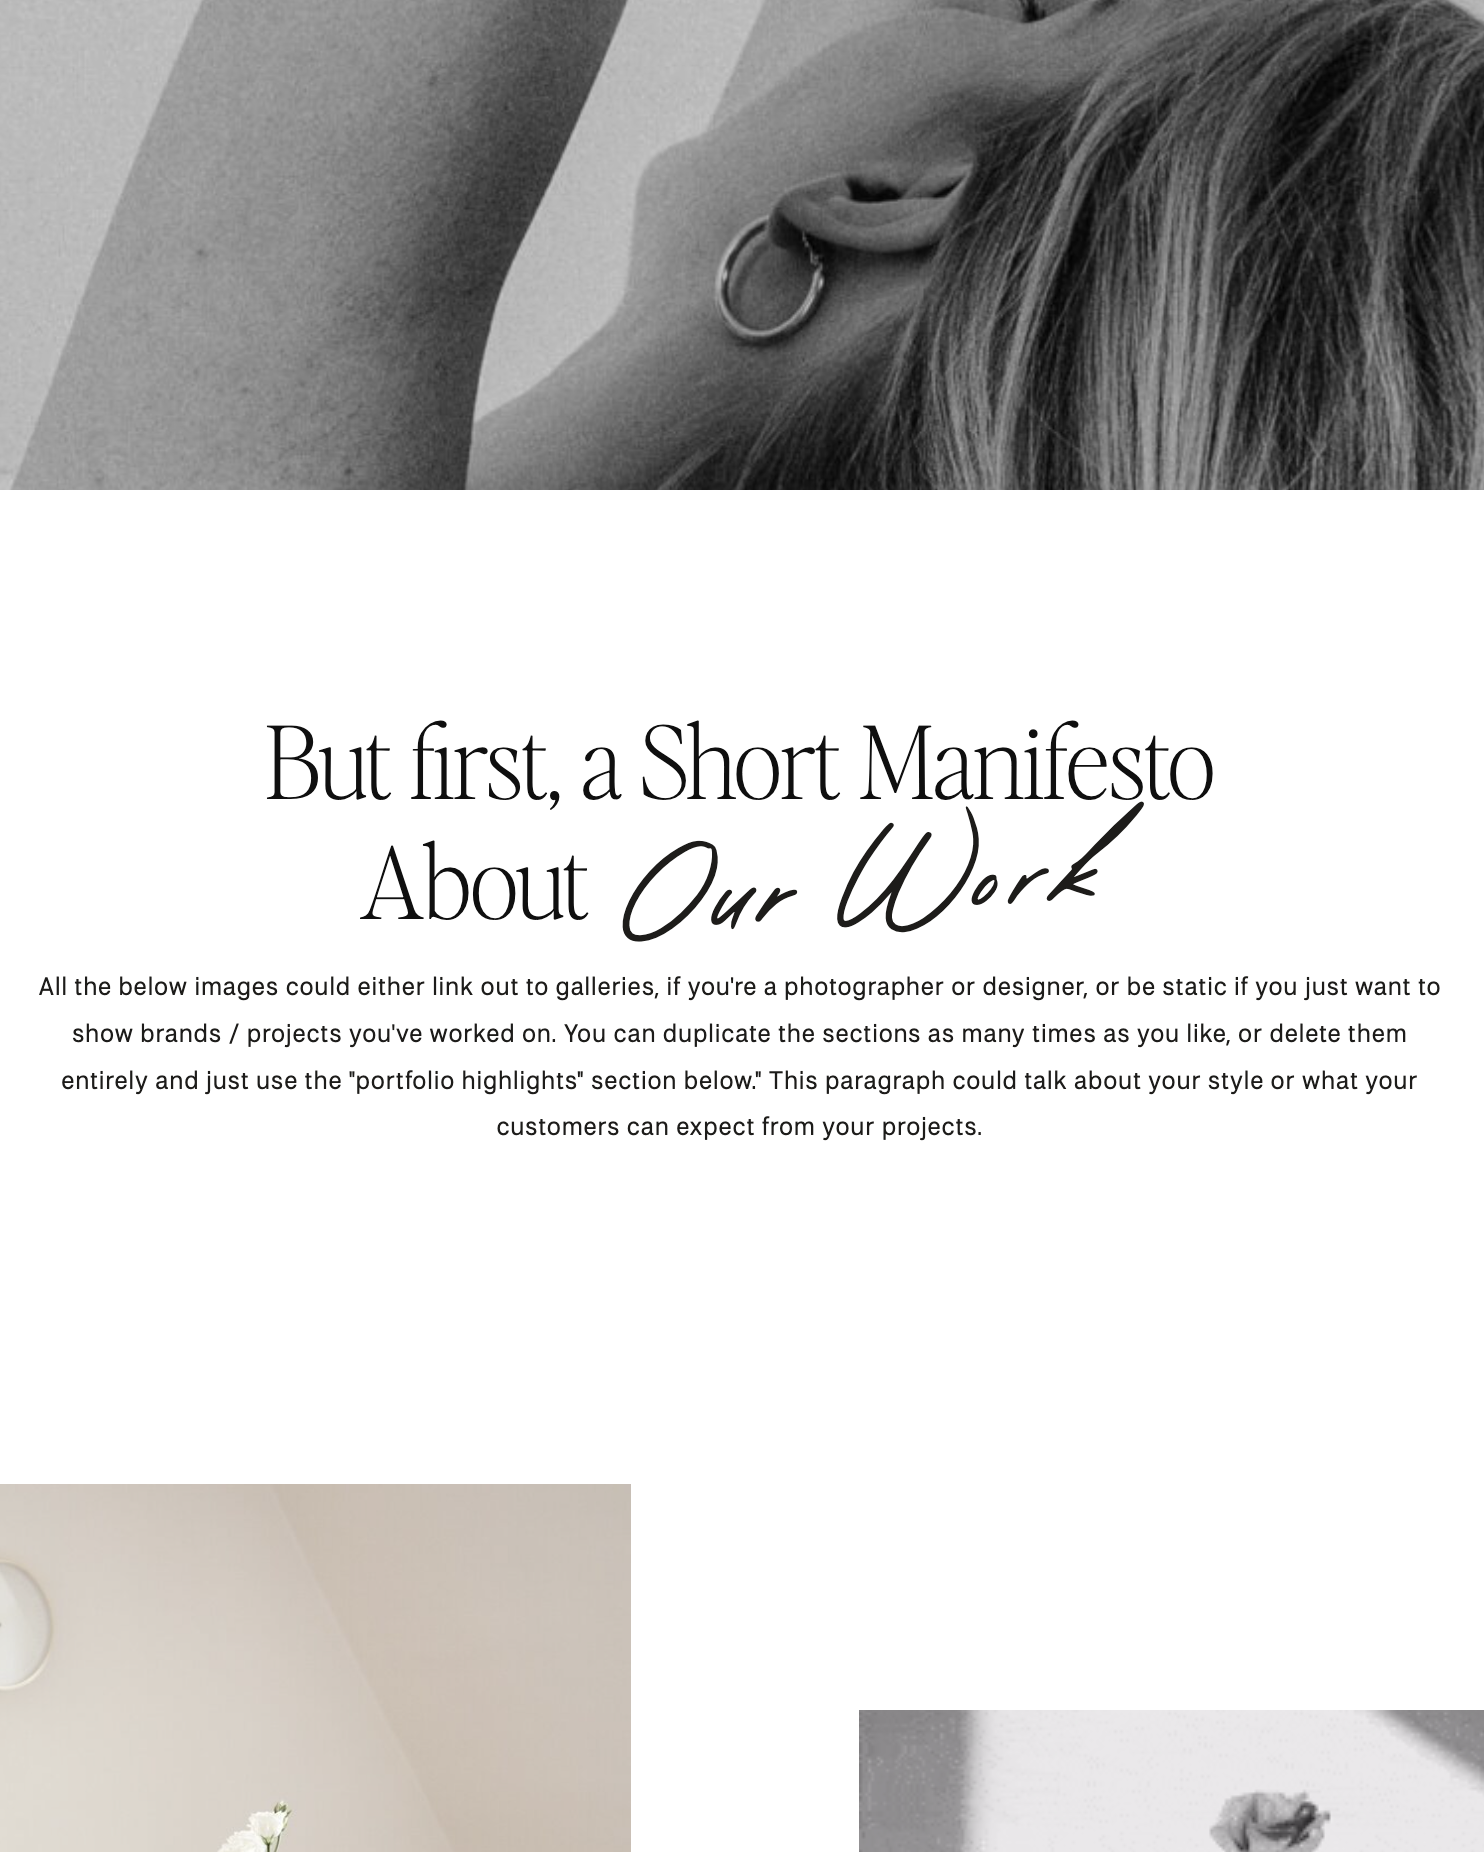
After you have created the fade effect to your liking, you can save or use the Perfectly Nineties print text for some additional spice to your design (I LOVE to use this!).


And this doesn’t just work for individual letters or fancy scripts; check out this same effect using Cypress:

I hope you found this blog post helpful for your future designs!
Looking for a video version? Check out the video tutorial here:
– Jen

Comments +