


One of my favorite ways to elevate a design or a mockup is by incorporating organic texture. Adding texture can take a flat design and give it so much character! Plus, it can help your mockups look that much more realistic.
In this blog post, I will give you step-by-step instructions on how to use displacement in Photoshop to add texture to your text.
Step 1: Open your logo or text in Photoshop, and make sure it’s a smart object.
Converting your design to a smart object will make this entire process so much easier.
Simply select your text or logo layer, right-click, and select “convert to smart object.”
Step 2: Add a textured background & play around with your blending modes
First, you want to import a textured image into your file as a background layer.


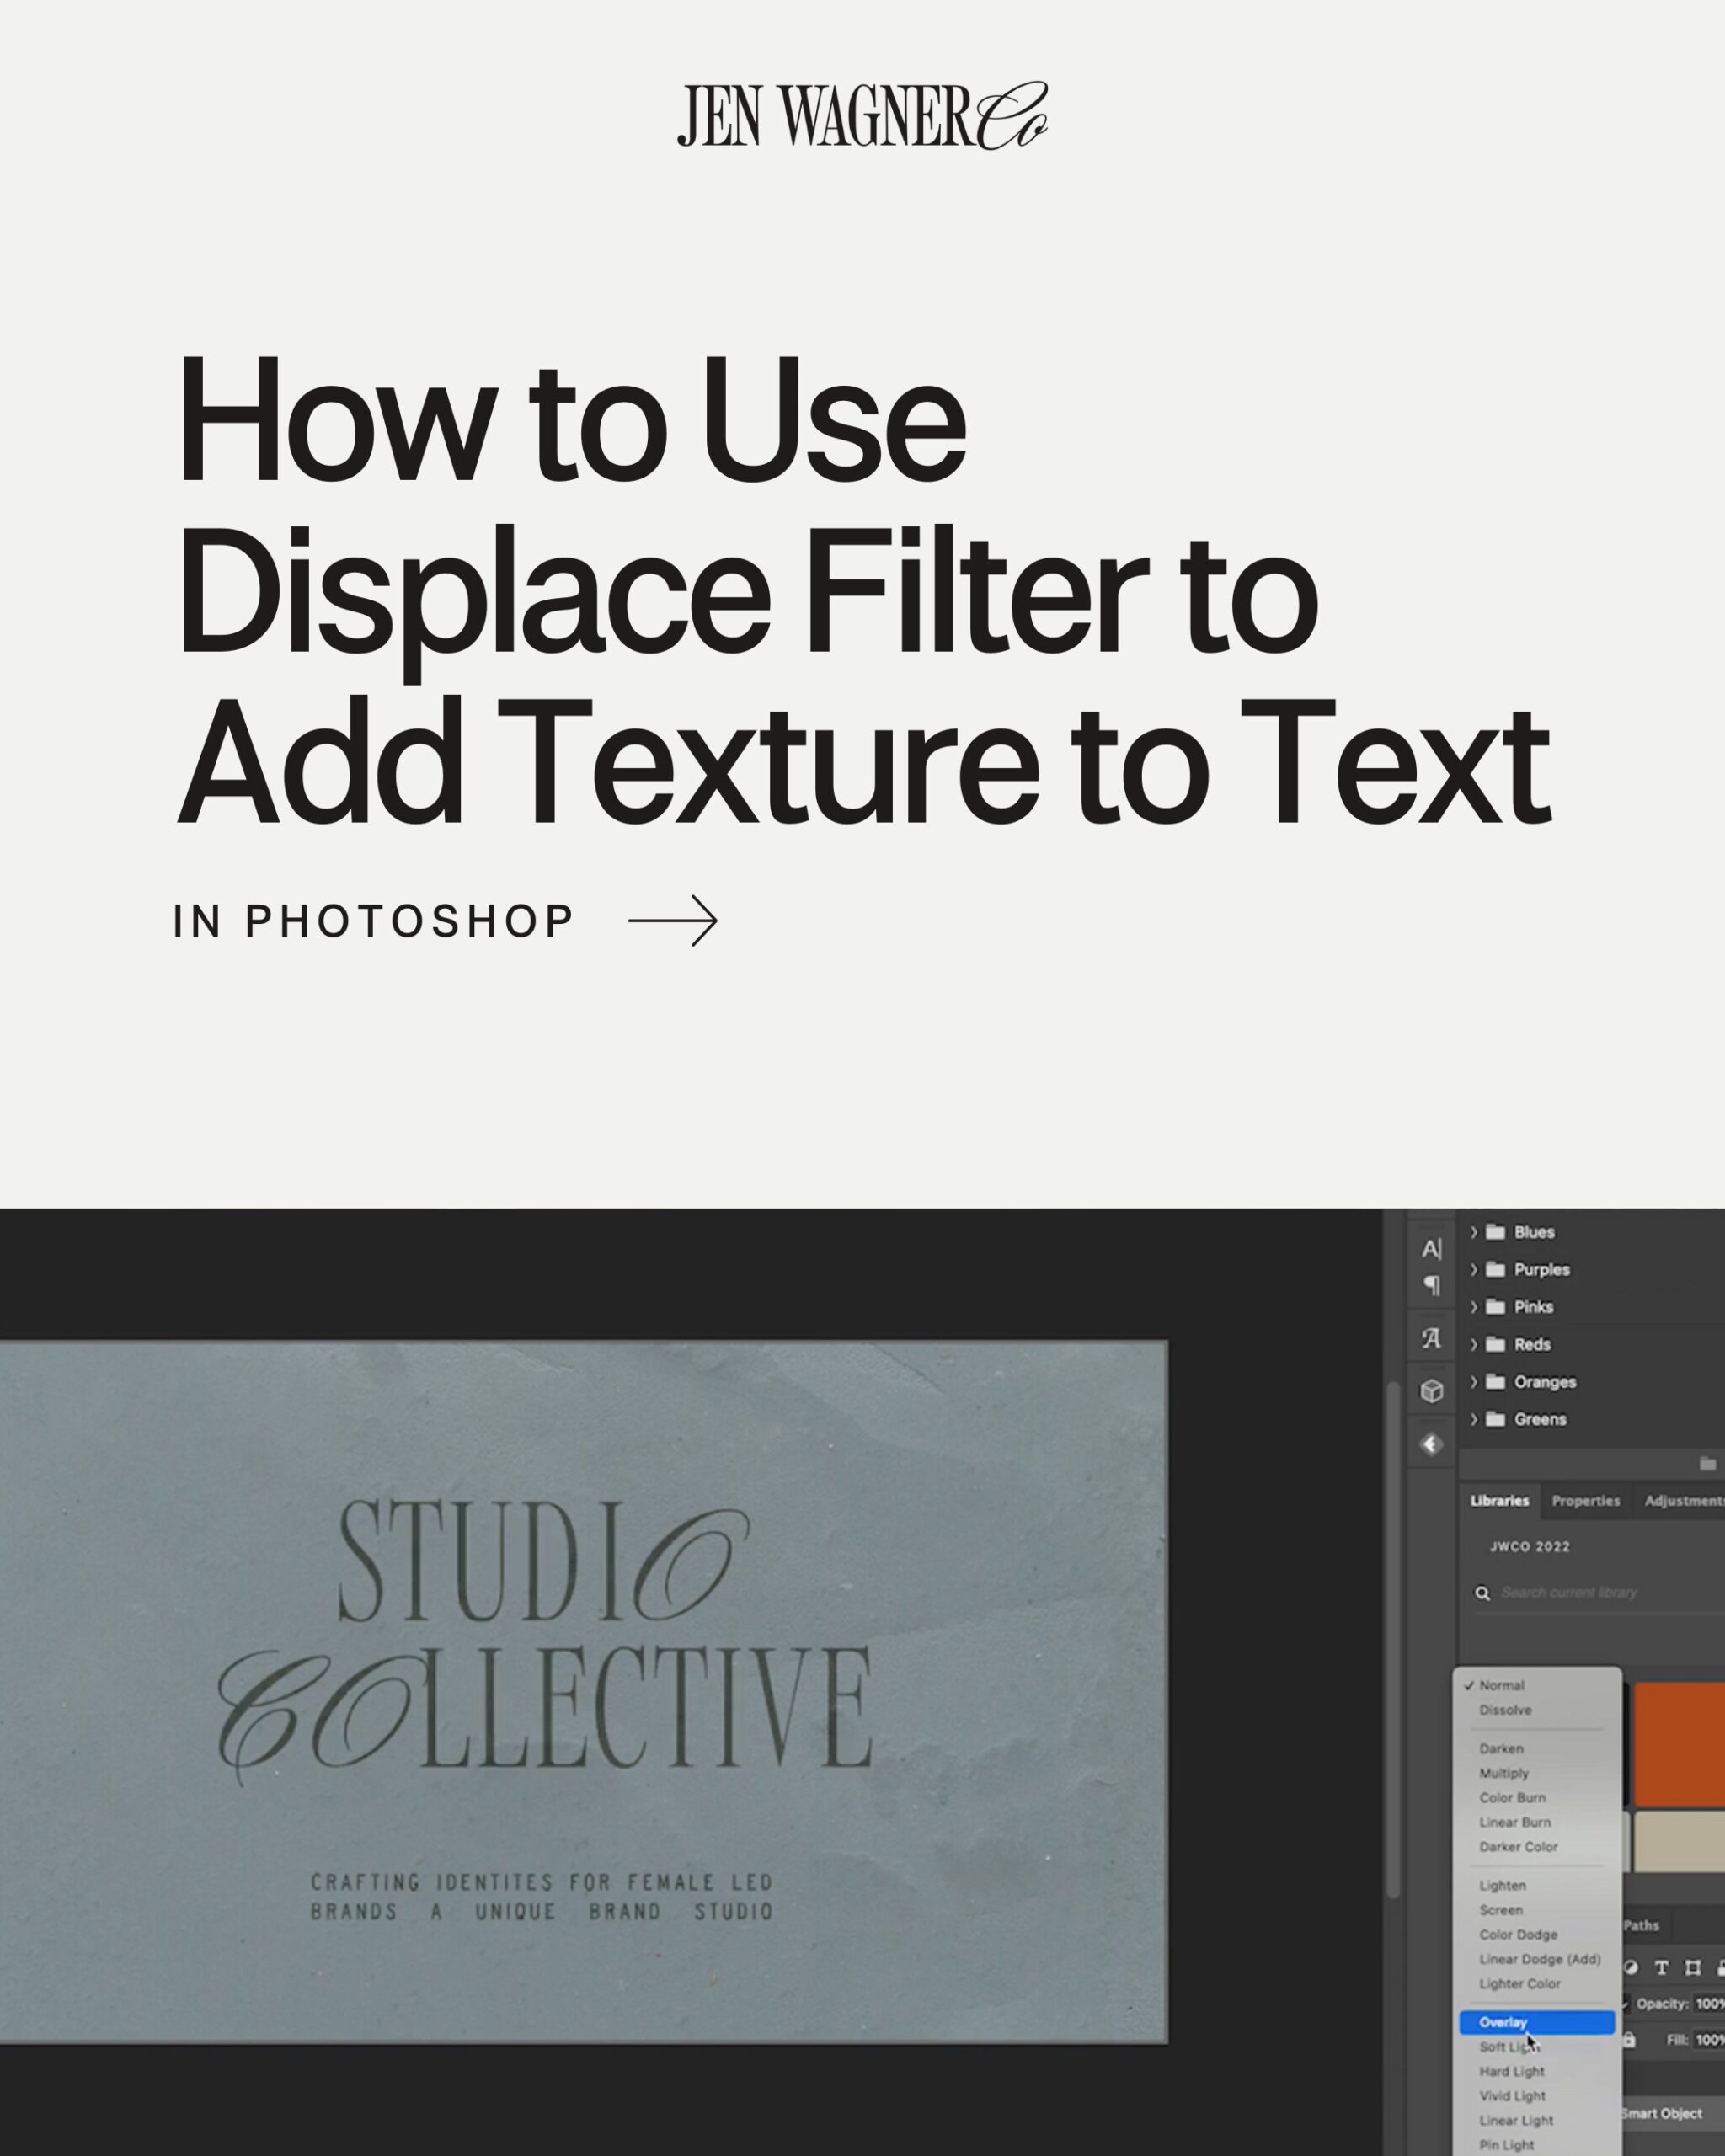
Then, select your text layer. Select the blend mode drop-down menu on the right-hand side above your layers.
Scroll down until you find the “overlay” option. This will create that first essence of your logo or text being printed on your textured background.

Step 3: Create a displacement map from your background image.
Your design already looks gorgeous, but now we want to take the textured details to the next level.
First, you’re going to want to turn off the visibility of your text layer, so you’re working only with the textured background.
Then select all layers, go to “edit” on your top menu, and select “copy merged.” Then hit paste (ctrl+v) in your layer panel. You should now have a copy of your textured image layer. This layer will be your displacement map to give your text an even more detailed appearance.


Step 4: Add contrast to your new image layer.
Select your new, pasted image layer, select image on your top menu, go to adjustments, then select desaturate. This will make it easier to see your details once we adjust the contrast.
Then, go back to your adjustments menu, and select “levels.” Adjust the contrast, shadows, and highlights to bring out those textured details to your liking.
Then save this layer as a PSD file.


Step 5: Displacing your text or logo.
Turn your text or logo layer back on, and keep that layer selected. Select “filter” on your top menu, select “distort,” then “displace.”
Once you’ve selected displace, a dialogue box should pop up, giving you options to adjust the level of displacement. I usually start off with 4 or 5 in both horizontal and vertical scales but feel free to play around with the settings.
Once you hit “OK,” a file selector box should pop up. From there, you will select the PSD file you saved earlier. This will add the texture of that image onto your text or logo, making it look like it was literally printed onto your textured background.
Again, feel free to adjust the settings of your displacement to make the details more obvious.


This effect creates a subtle but GORGEOUS effect on your designs. Give it a try!


Comments +