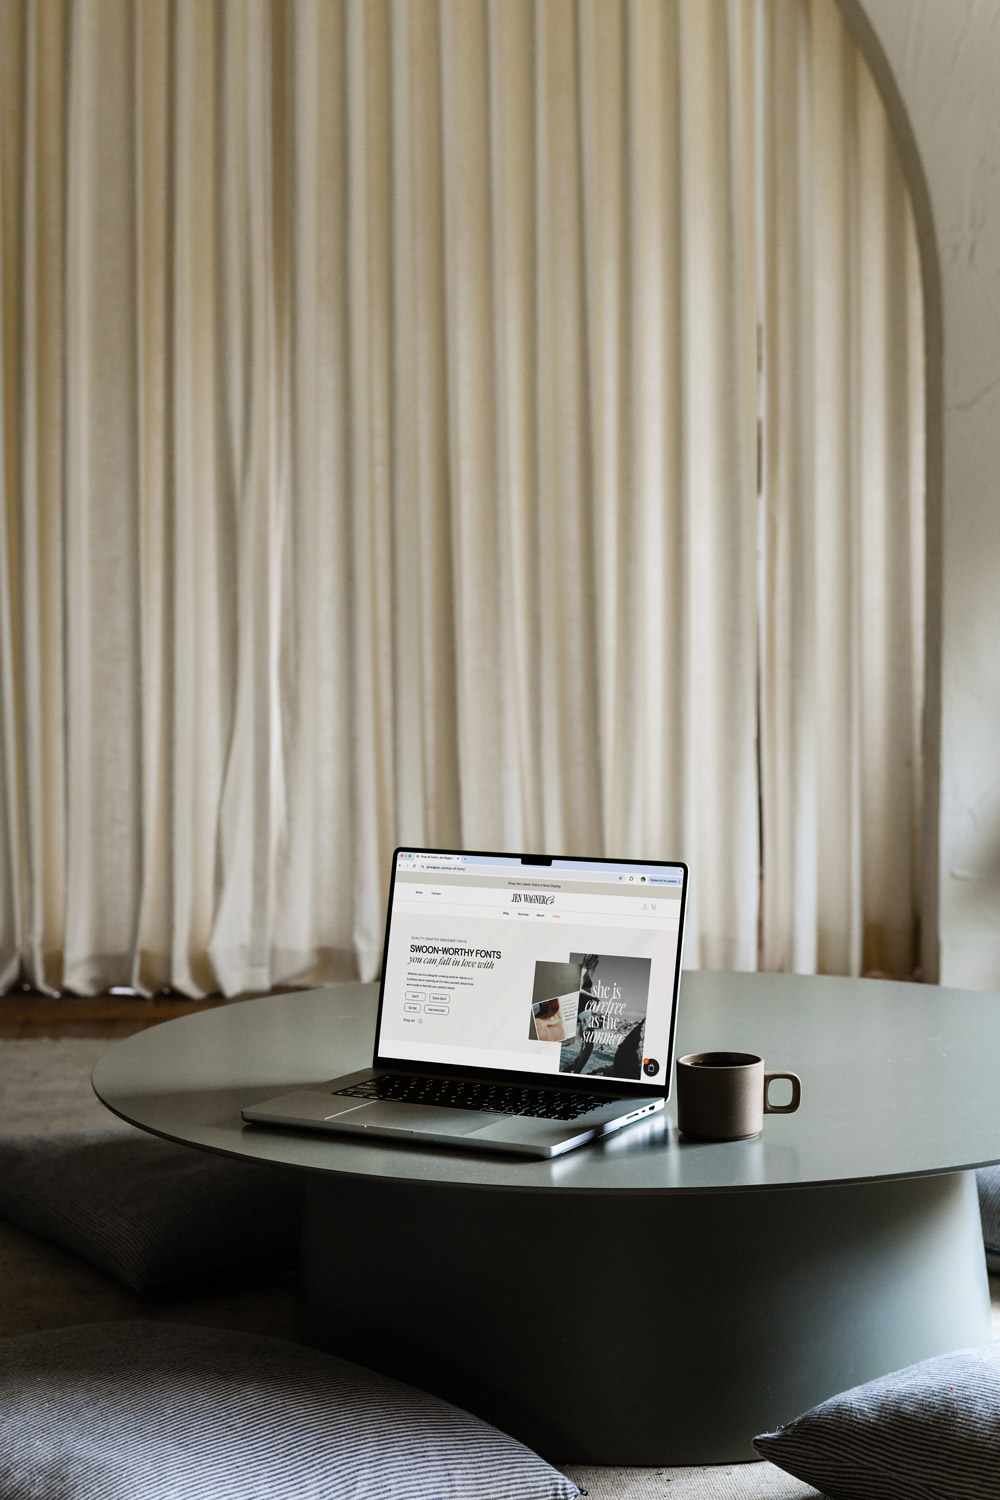
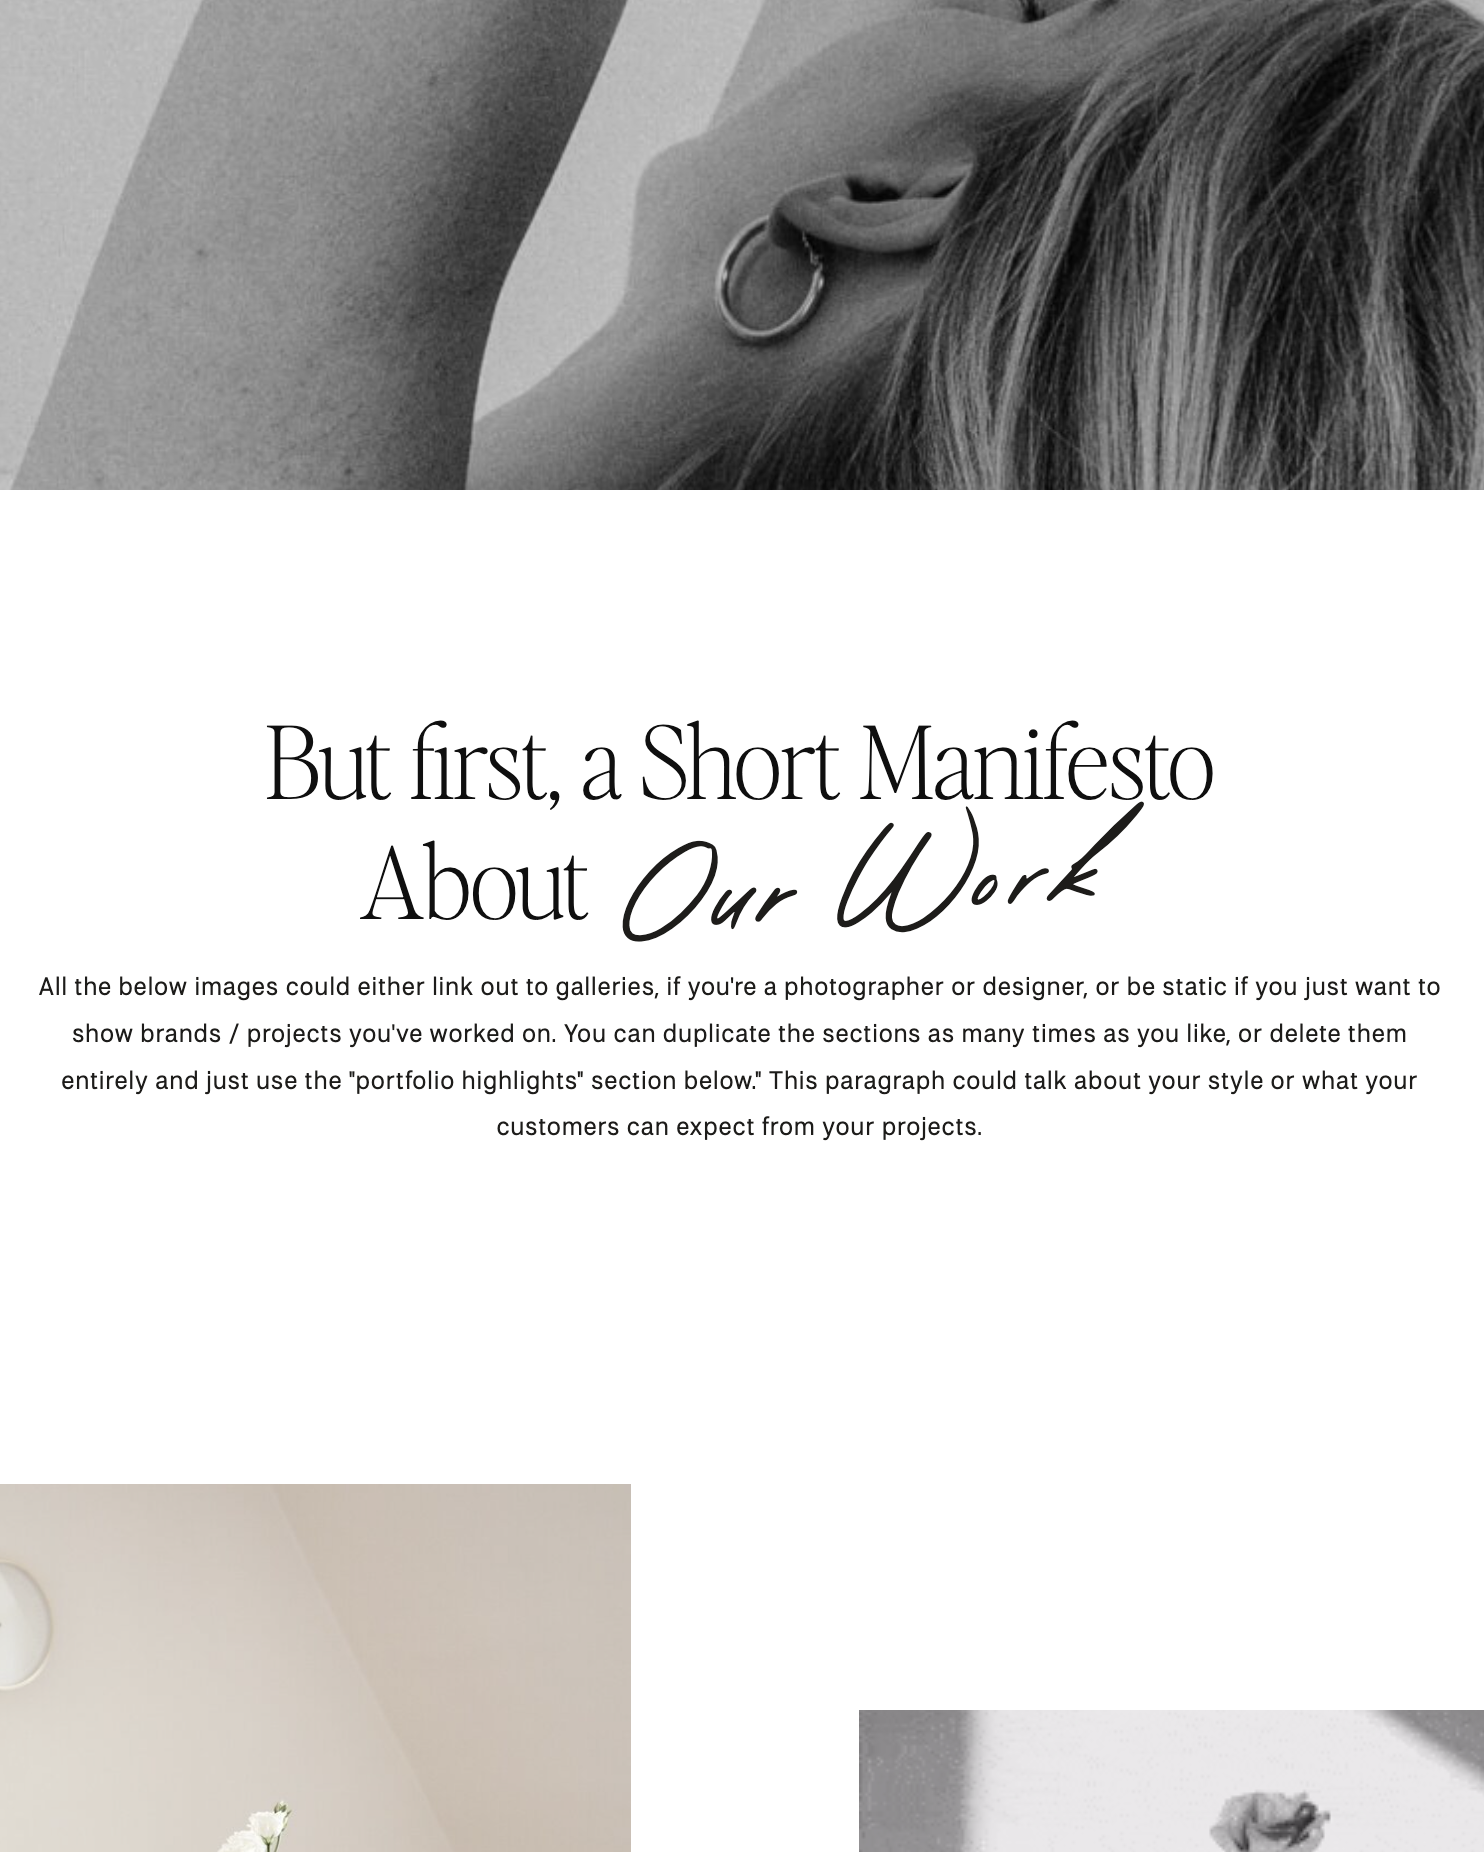
Mock-ups are a great way for designers to present their work, and video mock-ups take it a step further by adding movement and show off a little bit more than just a static image. These are great for showing off video content, animations, or app interfaces. If you want to learn how to edit video mock-ups in Adobe Photoshop, check out the tutorial video or step by step instructions below!
Step 1: Open the Video Mock-up File
When you open your video mock-up in Photoshop, it will look like a regular image-based mock-up. However, since this is a video mock-up, you need to access the video portion of the file. If the timeline window isn’t visible, go to Window > Timeline to open it. This is where the video portion of the mock-up will be visible and editable.
Step 2: Edit the Mock-up
Once the timeline is visible, the process is similar to editing a still image mock-up. In the Layers panel, ignore the extra layers and focus on the layer that says “double-click to replace”. Double-clicking this layer will open the Smart Object, where you can replace the existing screen with your desired content.
Step 3: Add Your Content
Once the Smart Object opens, simply drag and drop your screen recording, artwork, or video file that you want to showcase in the mock-up. Make sure to delete the old placeholder layer and save your work. Photoshop will automatically update the mock-up with your new content.
Step 4: Render the Video
Unlike saving a still image as a JPEG or PNG, rendering video files requires a few extra steps. In the Timeline window, click the hamburger menu (three horizontal lines) and select Render Video. Alternatively, you can go to File > Export > Render Video.
Step 5: Choose Render Settings
You’ll see various options, which can seem overwhelming. The default settings will likely be set to document size, which produces a high-quality but large file. This size is ideal for formats like Instagram or presentations where file size isn’t an issue. However, for smaller file sizes suitable for web, you can adjust the quality or change the video resolution to 1080p.
If your mock-up is vertical, note that exporting in the H.264 format won’t work unless your document height is under 2300px; you’ll need to switch to QuickTime format.
Step 6: Finalize and Render
After adjusting your settings, click Render. The rendering process might take a few minutes, depending on the file size and your computer’s speed. Once it’s done, you’ll have a crisp, ready-to-use video mock-up.
Video mock-ups are a fantastic way to elevate your design presentations and give your audience a real sense of how your content will look in action. Whether you’re preparing a mock-up for social media, a client presentation, or your portfolio, following this simple process will allow you to create stunning, professional video mock-ups with ease.
Ready to Enhance Your Video Portfolio?
If you’re looking for high-quality video mock-ups to showcase your work, check out my exclusive mock-up collections! I’ve crafted a collection of mock-ups that make it easy to showcase your video content with style. Browse the collection and take your design presentations to the next level.


Comments +