

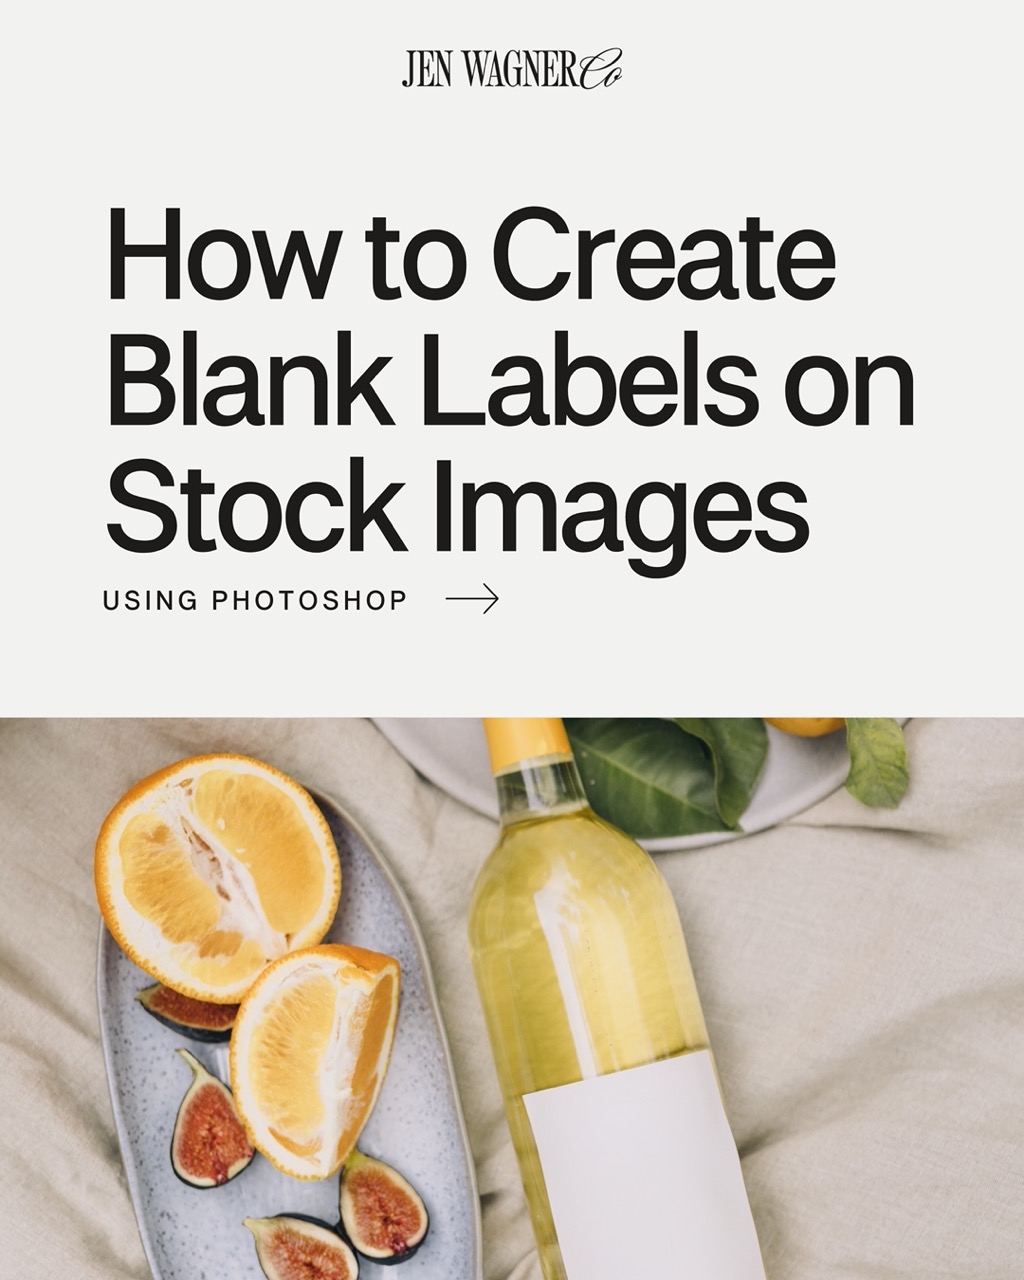

Have you ever found yourself browsing Pexels or Unsplash and come across an image that would be PERFECT as a mockup photo for your designs?
The only problem is – that beautifully photographed cosmetic packaging or canvas tote already has a design on it!
In this blog post, I’m going to walk you through one of my favorite Photoshop tips for creating blank labels on stock images so you can easily add and showcase your own designs.
The main obstacle is removing part of the existing image in a way that doesn’t make it look blotchy and weird – and this is totally possible.
Keep reading to learn how!
Step 1: Open your image in Adobe Photoshop
Step 2: Select the section you want to remove
Use the marquee tool to select the section you want to remove on the image.


Step 3: Go to “Edit” and select “Content Aware Fill”
This tool uses the surrounding label area to fill in that content and create a blank space!

You can output this effect to the current layer or add a new one, depending on how you want to keep track of your edits.
Pro tip: Use this tool multiple times on small sections of the area you want to remove to create the most cohesive and natural-looking effect.
And voila! You have a blank label ready and waiting for your own logo or designs.
This is truly the closest thing to magic I’ve found in Photoshop! It will help streamline your mockup process and make it so much easier to present your designs in a beautiful and branded way.


Comments +